5- Installing MBAM
After you downloaded the MDOP optimization pack, browse into the MBAM\MBAM 2.5 SP1\Installers\x64 directory and click on the MbamServerSetup.exe file on your database server.
- You will see this window shows up

- Click on Next and then accept the EULA to continue;

- Select your preferred option on the Customer Experience page and click Next
- Click on the Install button;

- The MBAM installation process has now finished;

SERVICING RELEASE INSTALL
Before we go ahead and configure MBAM it is important to install the latest servicing release;
- Having downloaded this from the before mentioned link, simply runthe MBAM2.5_X64_Server_KB4340040.EXE;

- Click on Next and accept the EULA;

- Click Install to start the update process;

- Click on Finish to launch the Configuration Wizard

- Repeat this process on the Web Application server
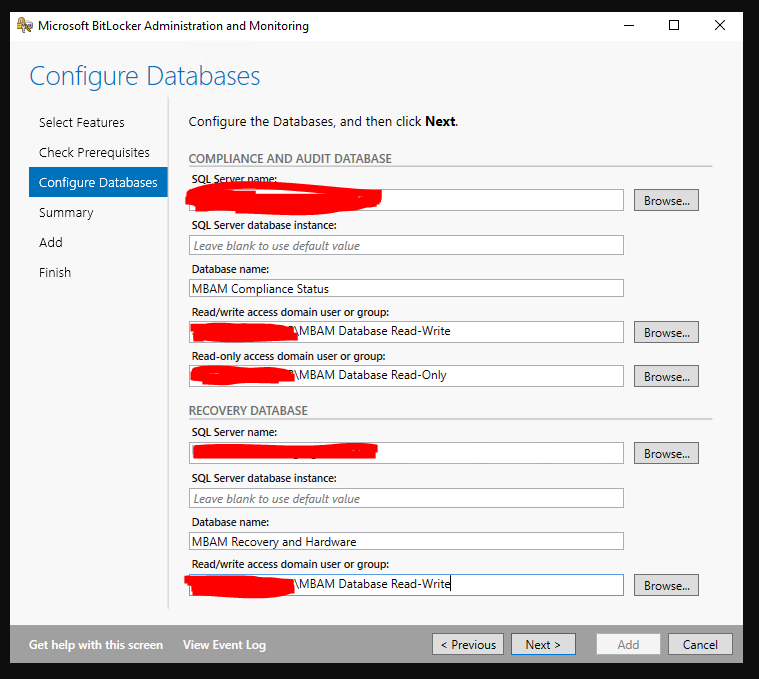
Installing SQL SERVER CONFIGURATION – DATABASES
- Launch the MBAM Server Configuration on the SQL database server;

- Then Select both database options


- Enter the required server names and security groups details in the form
-
You can save the “export Powershell script” for future installation.

- The databases have now been installed;

- Opening the SQL Management Studio console you should now see MBAM Database
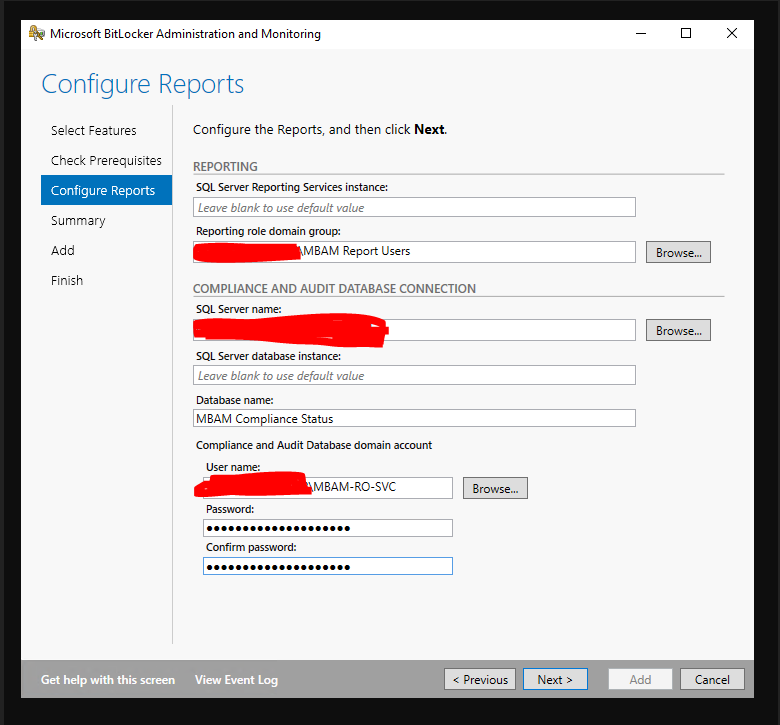
INSTALLING REPORTS
- Launch the MBAM Server Configuration again on the SQL database server
- Select Reports from the “Select features to add”

- Enter the required SQL server address and credentials;
- Export the PowerShell script for future installation
- Once finished the installation you should receive confirmation of success;

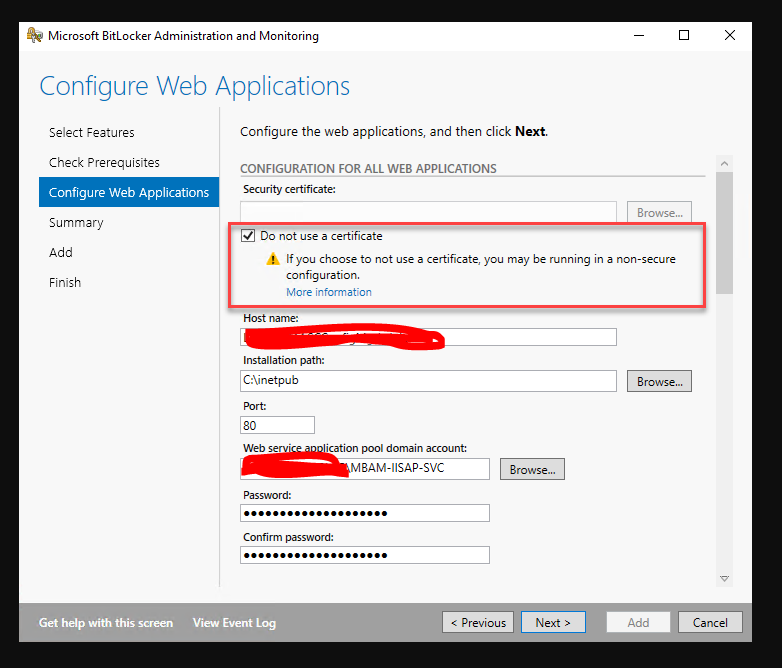
INSTALLING THE Administration and Monitoring Website
- Launch the MBAM Server Configuration
- Select all of the Web Application options from the “Select features to add”

- Enter the required IIS details and Web Application service account details (in this example I am setting up the IIS applications without SSL, however if you are using SSL you will need to select the security certificate to be used);
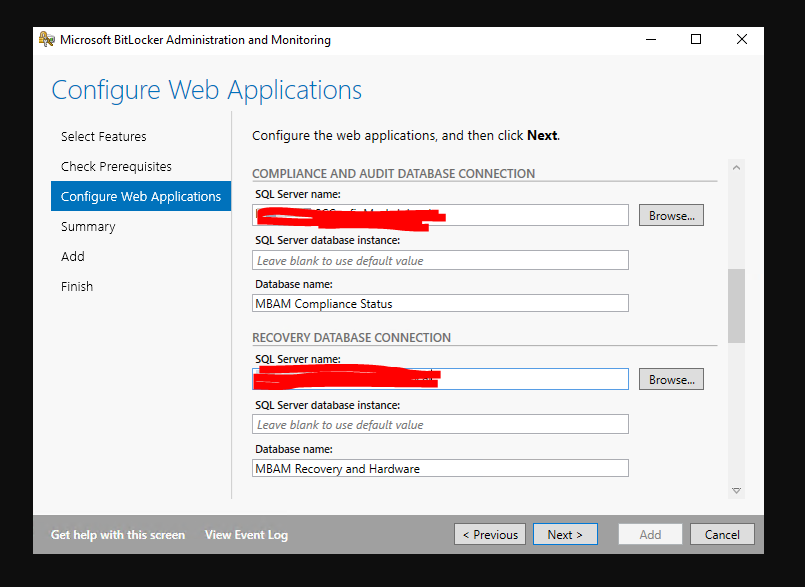
- Enter the SQL server details for access to both of the MBAM databases;
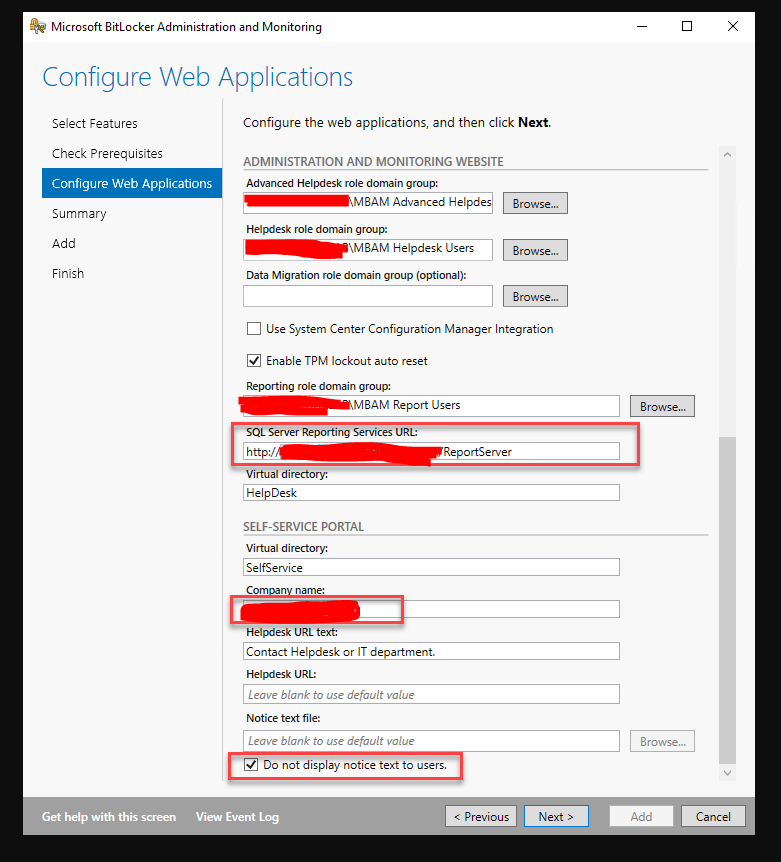
- Enter the Reporting group name along with the Reporting Services URL, Company Name (to be displayed on the self-service portal) and you can display terms and conditions of use via importing a text file (in this example I am opting not to);
- Export the PowerShell file
- Once installed you will receive confirmation;

In order to verify your MBAM installation successfully installed, please check below URL .
THE SELF SERVICE PORTAL
- Launch a web browser and browse to the following URL – http;//MBAMServer.YourDomain.Suffix/SelfService
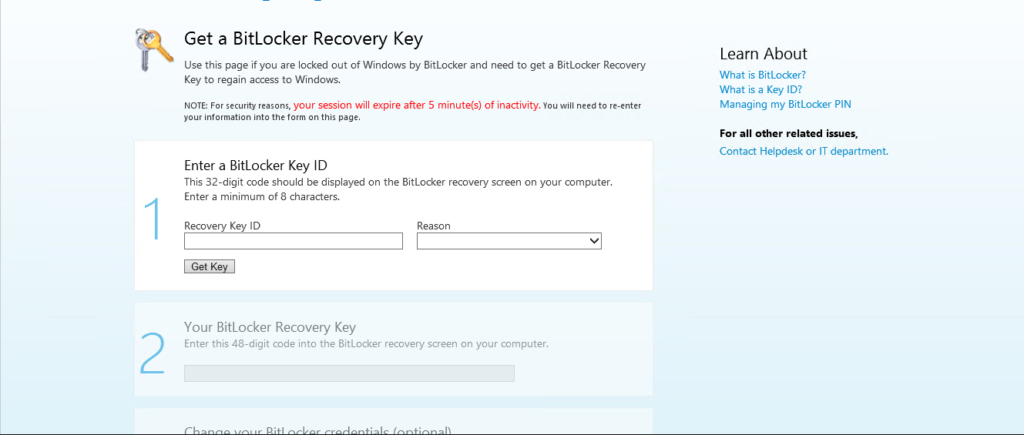
THE HELPDESK PORTAL
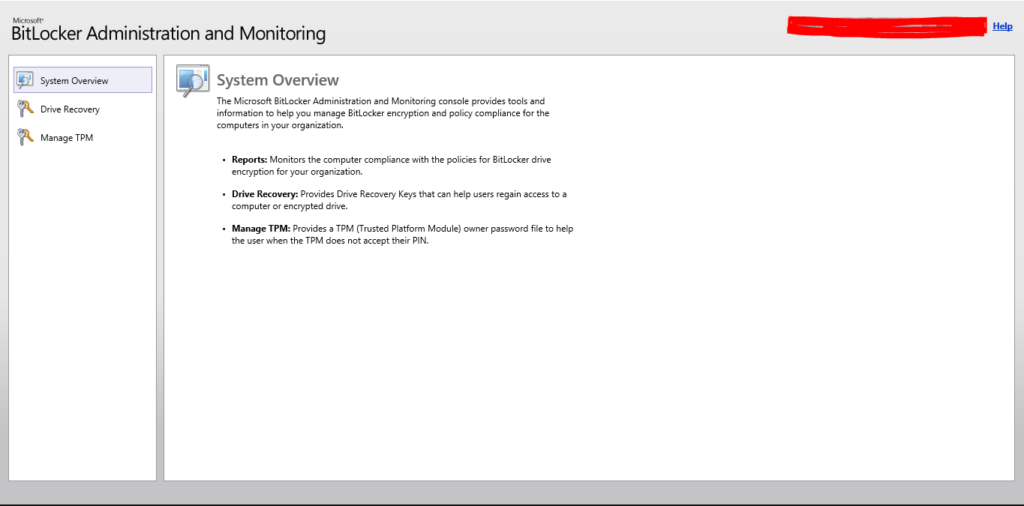
- Launch a web browser and browse to the following URL – http;//MBAMServer.YourDomain.Suffix/Helpdesk
RECOVERY & STATUS SERVICE ENDPOINTS
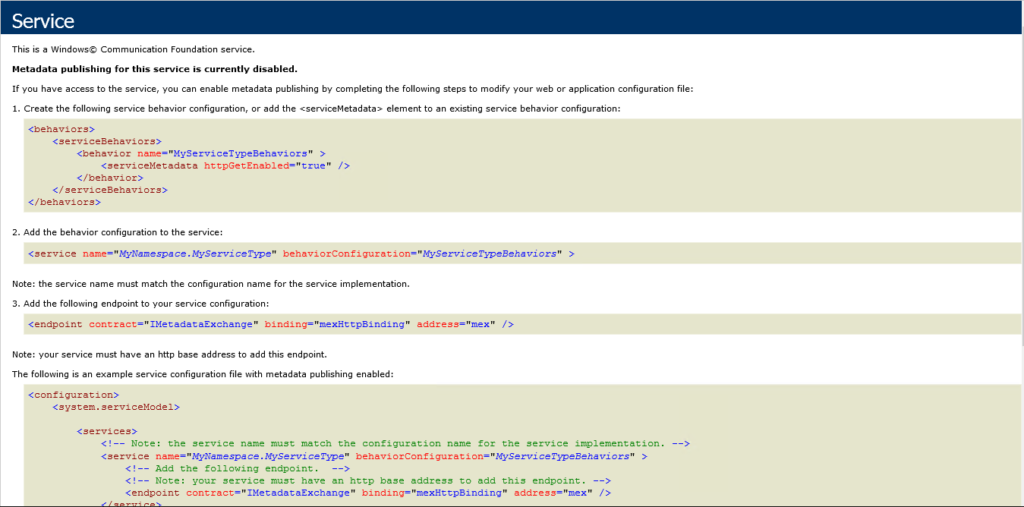
- Launch a web browser and browse to either or both of the following URLs –
http;//MBAMServer.YourDomain.Suffix/MBAMRecoveryAndHardwareService/CoreService.svc,
http;//MBAMServer.YourDomain.Suffix/MBAMComplianceStatusService/StatusReportingService.svc - You now see a page similar to the below;
CONTINUE TO PART 3