

Today we are going to show how to create office 2019 application using SCCM.
First we need to Download the Office 2016 Deployment Tools and create a Download.xml
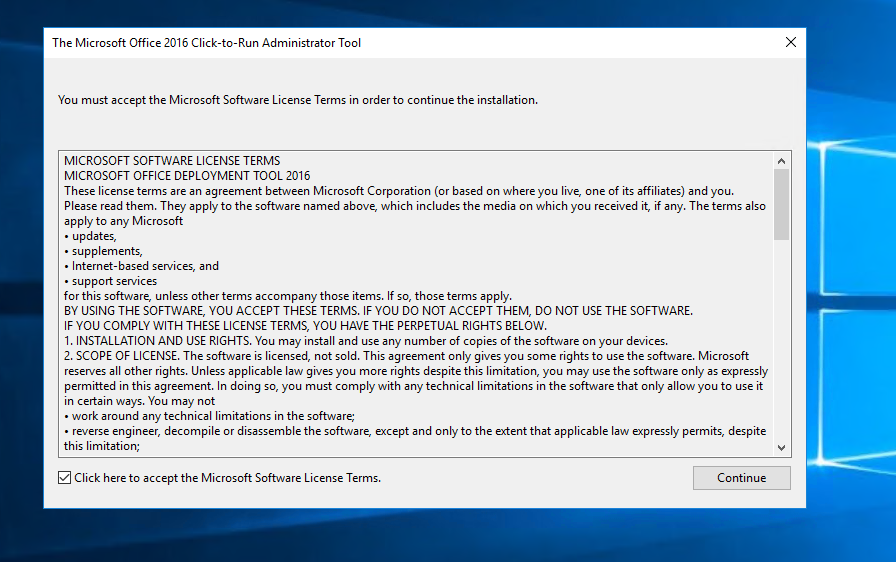

click continue and specify the path to store files.


Create a Download.xml file and copy this content :
<Configuration>
<Add SourcePath=”C:\Office 2019″ OfficeClientEdition=”32″ >
<Product ID=”ProPlus2019Volume”>
<Language ID=”en-us” />
<Language ID=”fr-fr” />
</Product>
</Add>
</Configuration>
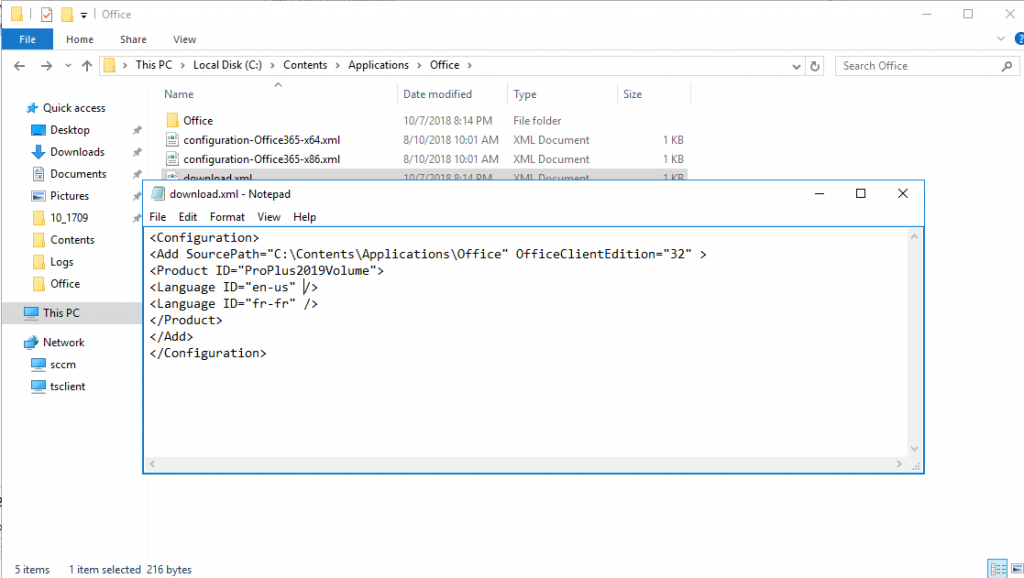

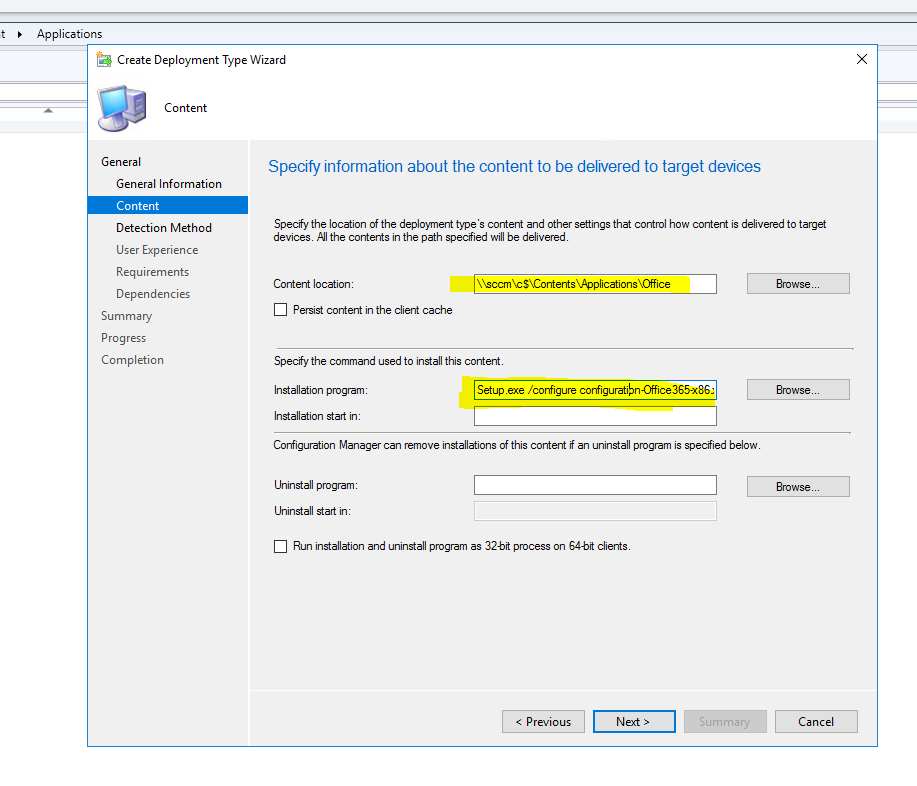
- we are downloading the 32 bit version in the C:\Contents\Applications\Office directory and add the English.
- Change the SourcePath and OfficeClientEdition if desired
- The ProductID is important and can be changed if you need a different product
- You can also add an additional language if needed by modifying/adding more language in <Language ID=”xx-xx” />
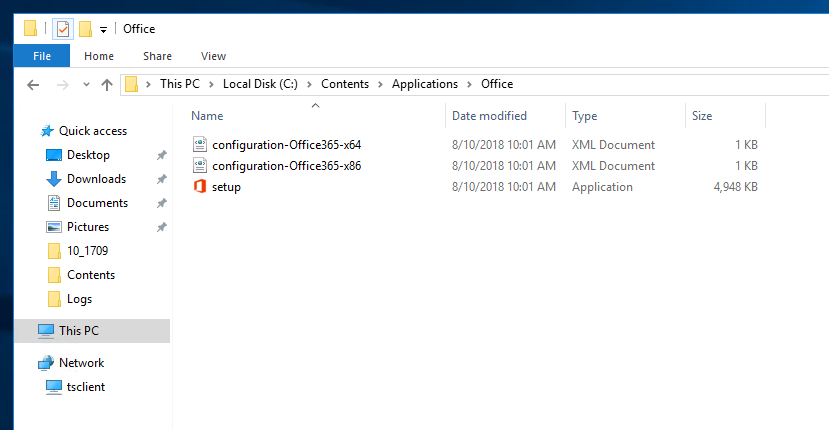
- Save the Download.xml file in the same directory as we have Setup.exe
- Open the Configuration-O365-x86.xml file and modify it to reflect this :
<Configuration>
<Add OfficeClientEdition=”32″ >
<Product ID=”ProPlus2019Volume”>
<Language ID=”en-us” />
</Product>
</Add>
<Display Level=”None” AcceptEULA=”TRUE” />
</Configuration>
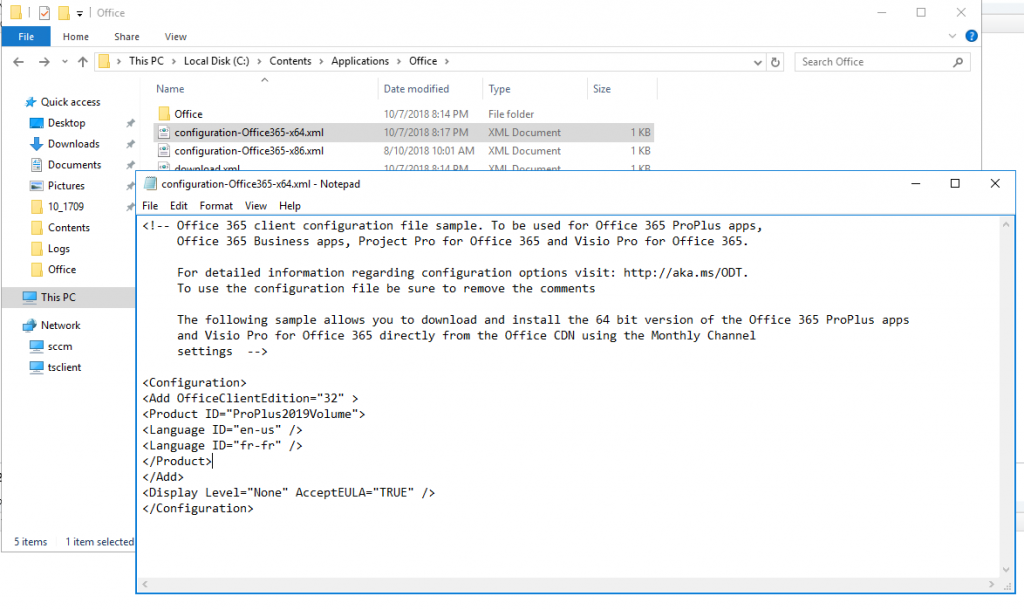

It’s important that you don’t include the SourcePath attribute in the Add section of your Configuration.xml file. That’s because SCCM copies the installation files for an application into a folder under the SCCM client cache folder, and the name of that subfolder is different for each computer. The DisplayLevel and AcceptEULA parameters ensure that our installation is silent. You can also use the PIDKEY setting if you don’t have a KMS server for activation.
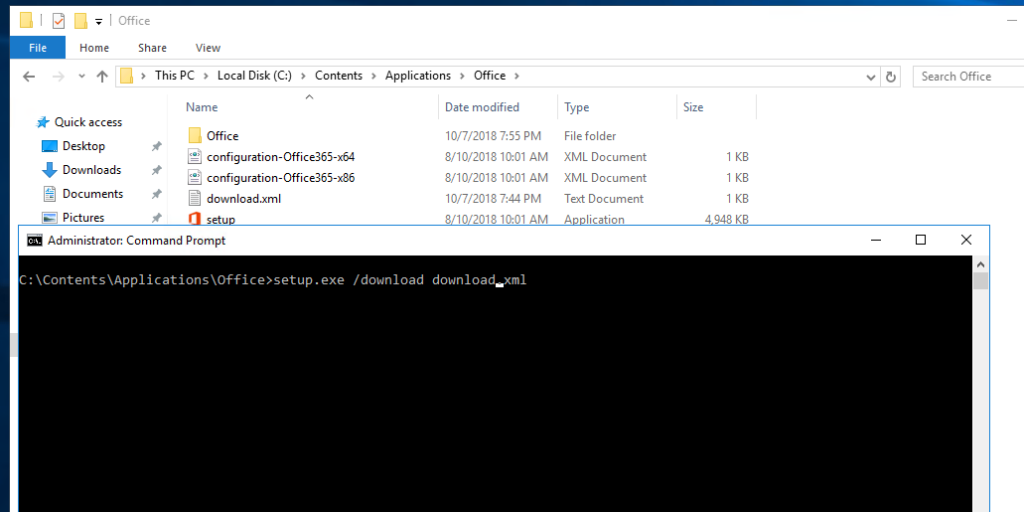
Once the 2 files are created and modified, we can launch the download using our Download.xml file :
- Open an administrator command prompt and navigate to your folder
- Execute : Setup.exe /download Download.xml

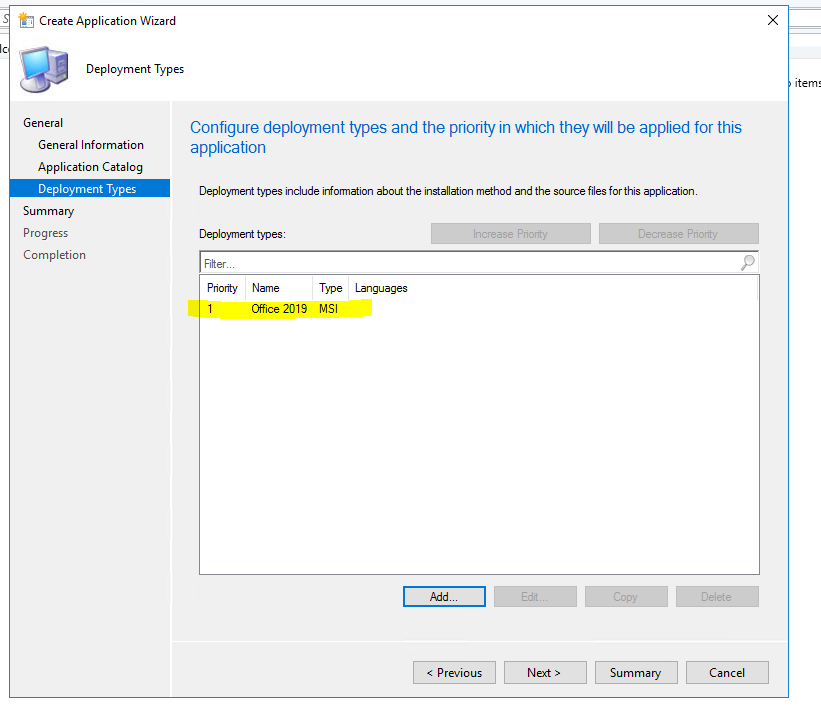
Now we are creating Application using SCCM
- Open the SCCM console
- Go to Software Library / Application Management / Applications
- Right-click Applications and choose Create Application
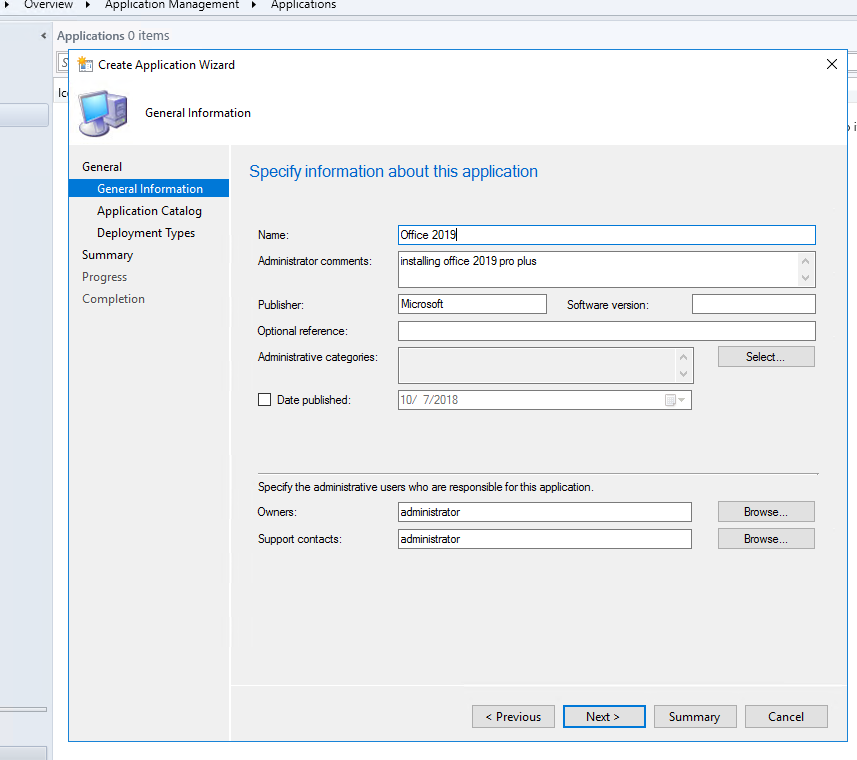
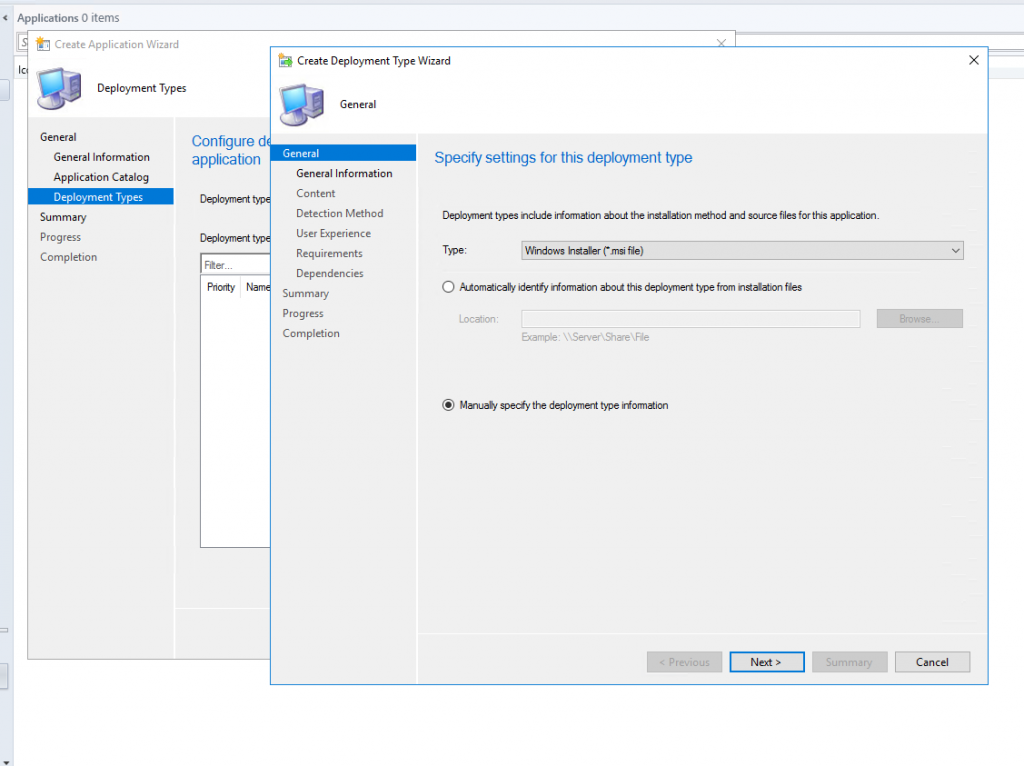
- On the General tab of the Create Application Wizard, select Manually specify the application information, choose Next
- On the General Information tab, enter a name for the application, enter any optional information, choose Next


On the Detection Method tab , choose Add Clause
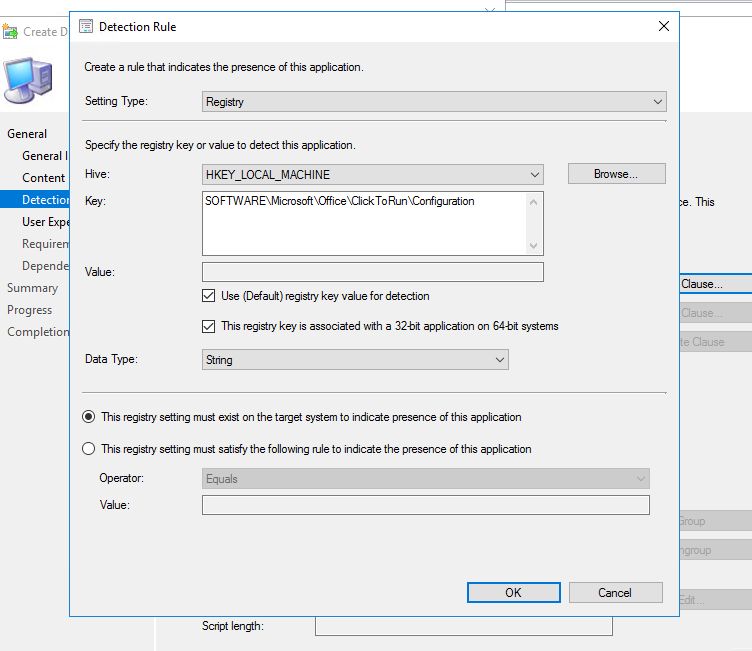
- In the Detection Rule dialog box, do the following :
- Setting Type – Registry
- Hive – HKEY_LOCAL_MACHINE
- Key – SOFTWARE\Microsoft\Office\ClickToRun\Configuration
- Check Use (Default) registry key value for detection
- Check This registry key is associated with a 32-bit application on 64-bit systems
- Data Type – String
- Select This registry setting must exist on the target system to indicate the presence of this application


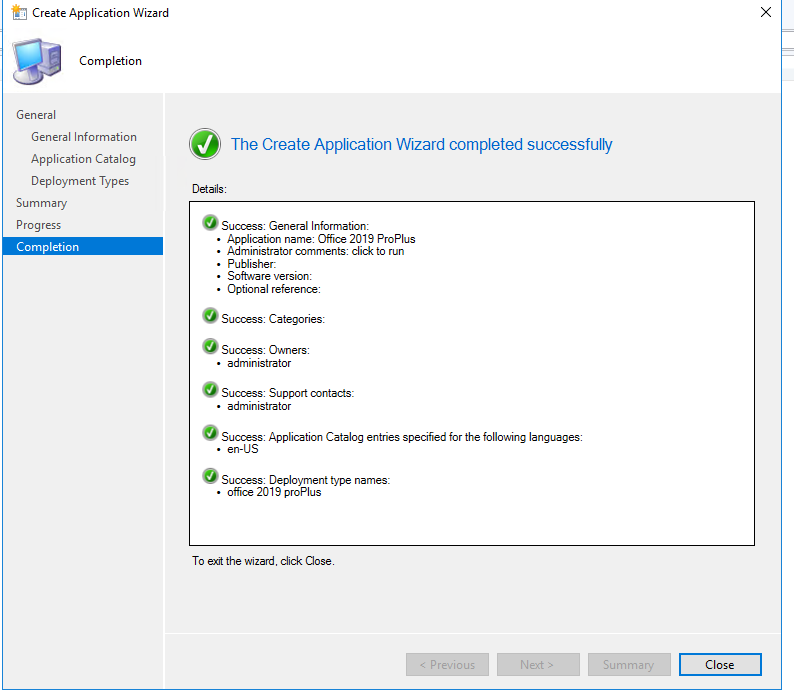

then click next and it will complete the application. you can distribute content to DP and deploy to your specific collections device.
There is a new set of Administrative Template files (ADMX/ADML) for Group Policy settings. You can download the Administrative Template files using this Microsoft Download Center link.